Thursday, March 31, 2011

Flight simulation

While I'm waiting for my battery parts to complete my home made LiPo battery and while I'm waiting for a calm day to fly, I've been playing with my new flight simulation setup.
I was originally going to purchase the E-sky 4 channel controller because it was so inexpensive (~$20) and I did not want to spend too much money to get started.  While shopping for this I stumbled across a similar product from Dynam.  This product comes with a 6 channel controller (usb connection to computer) and the same FSM software as E-sky.  Not only did it come with more functions but is was cheaper too (~$14)!  So for about $32 I purchased two from HobbyPartz.com (they had free shipping for orders over $25).  I bought one for me and on for my Dad.

I was a little disappointed that it did not come with the software on CD but it is a free and relatively small download from their site on the Internet.  The instruction are relatively simple as well and within minutes I had this up and running on my laptop computer.  What a Blast!

The scenery isn't the greatest, but it's adequate, and more importantly the flying seems realistic.  It is a little kludgey in that planes without landing gear must be hand launched and will slowly sink their tails into the ground and the trees look like two sheets of cardboard joined together and stood up in an x shape.  But for this price, who cares.

From some searching around I found out that this is an open source project started by a couple of guys in Europe and that it is compatible with scenery and planes from other programs.  I will see what I can do to add some of those to my installation.

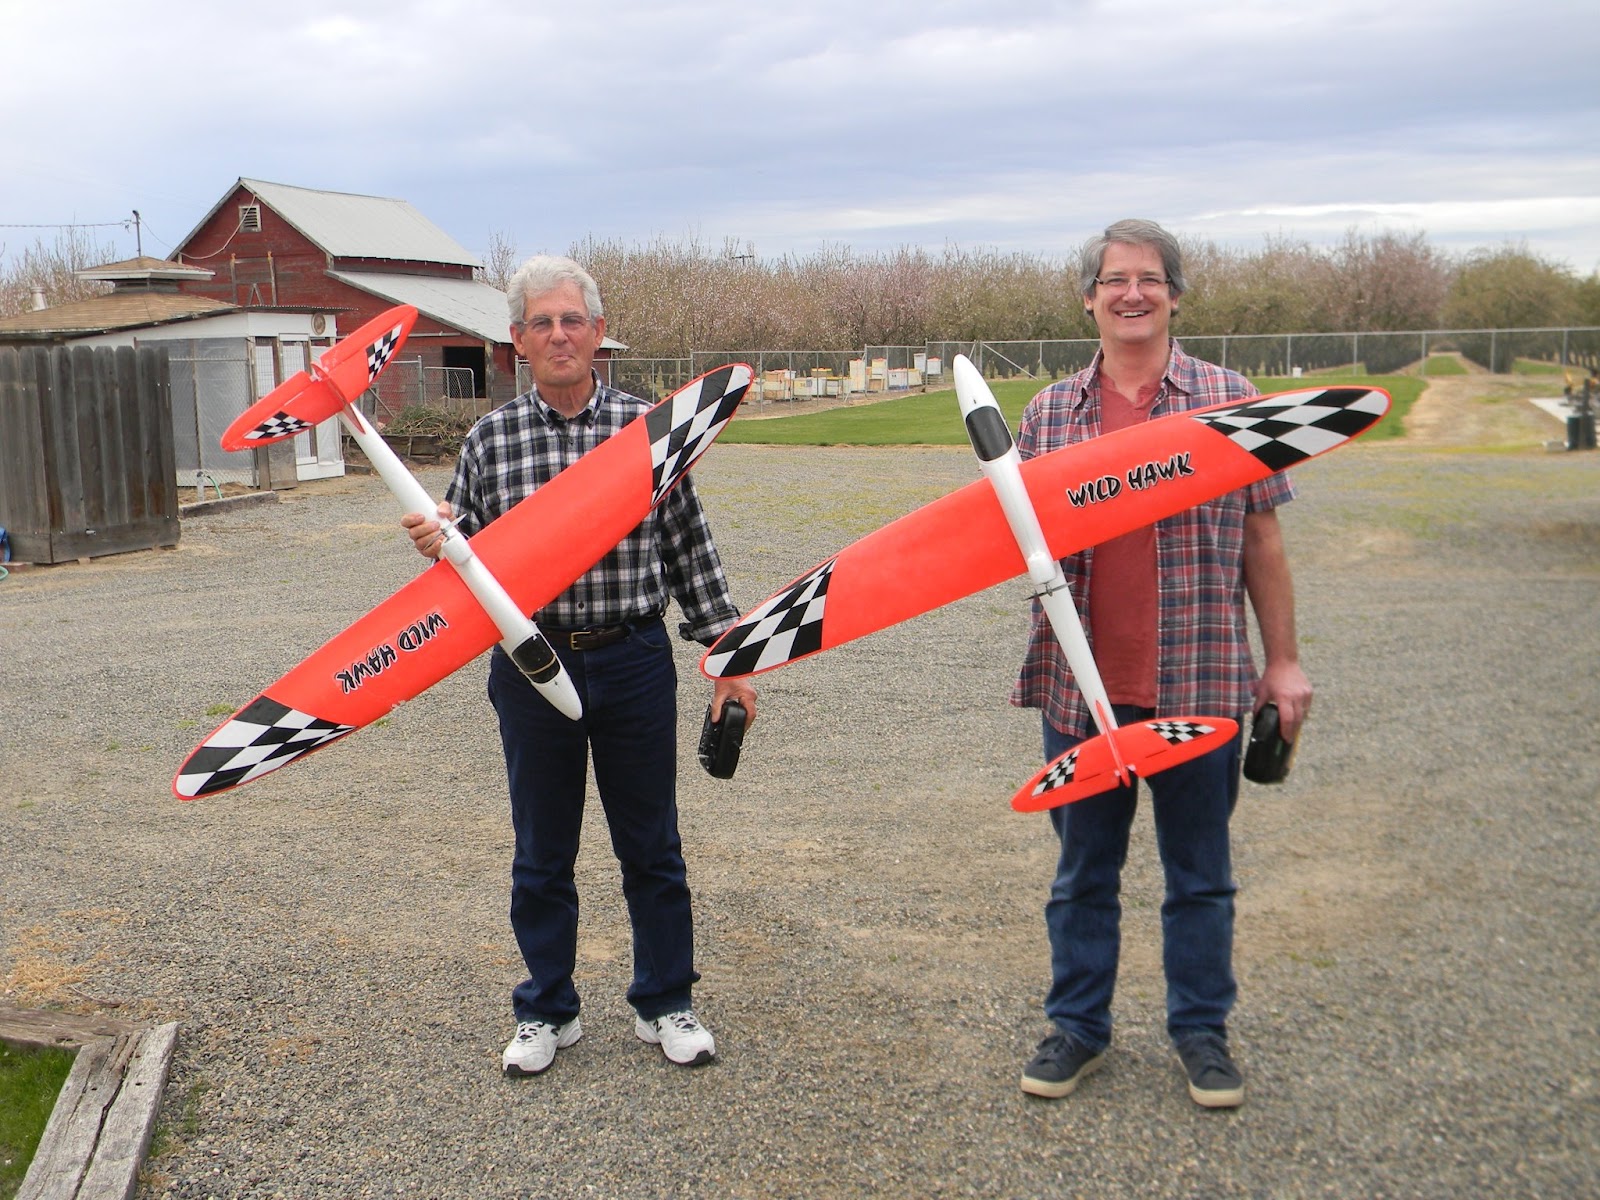
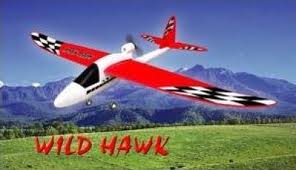
For now it does have the Hawk Sky (made by Dynam and what the Wild Hawk was patterned after) and it seems good enough.

I'll have more soon.

Thanks for stopping by my blog and please post comments, good or bad.  Be sure to come back and check for future posts.

Monday, March 28, 2011

More tweeking

Ok, I have discovered something that many of you Wild Hawk flyers may already know.  The foam hinges  on the tail are really stiff and really suck.  I found this out by testing my servos and noticing that the tail was flexing side to side with the rudder.

So now my next item is to cut the tail surfaces off and put in new hinges.  I don't know for sure yet what I will use for the hinge.  I am leaning to doing what we did for my Dad's plane.  When we put his plane together, we found that the rudder hinge had already broken.  We just used clear tape strips to put it back together.  It seems to work just great for him.

What ever I do, I will try to remember to provide pictures along with an update.

Almost forgot to give an update on another modification I have planned, home made LIPO battery pack.  I often have access to used laptop batteries.  These are usually packed with A size LIPO batteries.  Most are listed as some version of an 18650 3.7v ~2000mah battery.  All modern batteries of this type have internal fuses that blow to prevent damage to the devices they power.  So, quite often a bad laptop battery will only have 1 or 2 (usually two as they are used in parallel) bad cells.  So recently I collected several cells that I will put together to form 3, 3s 11.1v 2000mah battery packs.

This is a picture of the first series pack that I soldered together.  I ordered wires and connectors from All-Battery.com along with a basic balancing charger.  Once all the parts come in, I'll wire it up and submit more pictures.

I did some research into Lithium batteries and found that the are very particular with charging and must be handled very carefully.  I'll get into this more in a later post.

So, that's it for now.

Thanks for stopping by my blog and please post comments, good or bad.  Be sure to come back and check for future posts.

Sunday, March 27, 2011

Wet-N-Wild

So, not a good idea to try to fly in a small park next to a large wild life area after a good rain.

Well, after 2 weeks of rain and having just put my plane back together, I was very anxious to try and get some air time.  It was still a little too windy today but by about 6pm, things settled down enough.  My daughter and I took my plane out to our local park for a flight.

Launch went fine.  Plane was flying well and climbing.  The field was a bit small and I quickly ran out of field. I then tried to start a right turn and bring it back.  Soon into the turn a gust of wind banked the plane up onto its side!  I hustled to pitch the rudder and hit the elevator to pull out but by the time I hit the rudder I had lost too much altitude and nosed it right into the ground.  By the time we got over to the plane, we found that it was on a small semi-submerged island in the middle of a small lake!  I had to wade knee deep in water and mud to get to the plane.  When I picked it up the canopy had come off and the battery and radio compartment were full of water!  I quickly unplugged the battery and drained the water out.

Once we got home I proceeded to drain more water out and took everything apart.  Got out the Shamwow and heat gun.
After some work and taking the receiver apart, I was able to get all the water out.  I plugged the battery back in and carefully turned everything back on.  It worked and no sparks flew or smoke came out!  I think I'm back in business.

Thanks for stopping by my blog and please post comments, good or bad.  Be sure to come back and check for future posts.

Friday, March 25, 2011

All taped up and no place to fly

So, here's what the plane looks like now with the added clear packing tape wrapped around the nose, tail spar, engine nacelle, and along the leading wing edges.


I still need to get some strapping tape to provide extra support on the underside of the wings.  I know a lot of folks use carbon fiber or bamboo rods, but I'm not into cutting the required slots at this time.  I'm happy with just taping on a little extra support.

Thanks for stopping by my blog and please post comments, good or bad.  Be sure to come back and check for future posts.

Assessing the damages

Just a bunch of pieces at this point.

Fortunately there was no damage to the wings or tail

After a few days, some work with a heat gun, an entire glue stick, some tooth picks, and a generous amount of packing tape re-enforcement, this is how it looks now.


I used a low temp hot glue gun for speed and ease of use.  Although most people will recommend epoxy, I like the fact that hot glue it is not rigid and maintains some flexibility.

Thanks for stopping by my blog and please post comments, good or bad.  Be sure to come back and check for future posts.

Flying and crashing

having a great time flying.

Really enjoyed this part!

Had many landings, none of them very good and one of them bad.


We both had that one day ending landing!
As bad as it looks, it was all worth it because we had a great time.
Next is reconstruction.

Thursday, March 24, 2011

Here we go. Unboxing the plane

Everything came in the box and it was easy enough to put together.  I think the hardest part was pealing the cover off the tape on the rudder and stabilizer.  The next difficult part was sticking the rudder and stabilizer on.  With the tape to tape surfaces, your only have one chance to get it together right.

My Dad was nice enough to have unboxed the battery and given it a full charge.  So, once it was put together, we would be ready to fly.


We were really aching to fly and soon enough the wind died down.


We walked to a nearby field and were ready to fly.

Getting started (or restarted)

In my teens, I had a fascination for radio controlled airplanes.  I built a few and devastatingly crashed them before any real flying could be logged.  This was just before foam planes were popular and were sturdy and rebuild-able.

Now, my father is getting into the game and has helped me to return.  He was guided to an inexpensive Harbor Freight Wild Hawk and really enjoyed it.  For my birthday, he purchased one for me.  I absolutely love this plane!

This is now my ongoing log of experiences with this new flying adventure.