Hello all,
As I have had lots of people asking about, and have seen a lot of questions about how to taping up and re-enforce/protect a Wild Hawk, I thought I would use this post to show how I do it and what I recommend to others.
Note: The techniques shown here can be used on any similarly configured airplane like: the Hawk Sky, the EZ Hawk, the Easy Star, the Bixler, the Floater-Jet, and the Dolphin, just to name a few.
Before we start, I would like to review the type of tape I use. I use two kinds of tape depending on what needs to be accomplished. For most of the structural re-enforcement, I use a good fiberglass re-enforced strapping tape. I've seen some that sure, they had fiberglass re-enforcement, but they were few and far between, about 6 to 10 strands. I use a brand that has some 18 glass strands for the one inch wide tape. Initially I looked for a 3/4 inch wide strapping tape, but all the locations I checked were out of the 3/4 or only carried the 1 inch wide tape. So I bought the 1 inch tape and have not had an instance where I wished that I had the 3/4 inch wide tape.
For preventing puncture and tearing damage to the wind leading edge and part of the fuselage, I use a good clear wide packing tape. This tape is not that critical just as long as it is not the real cheap and easily torn stuff.
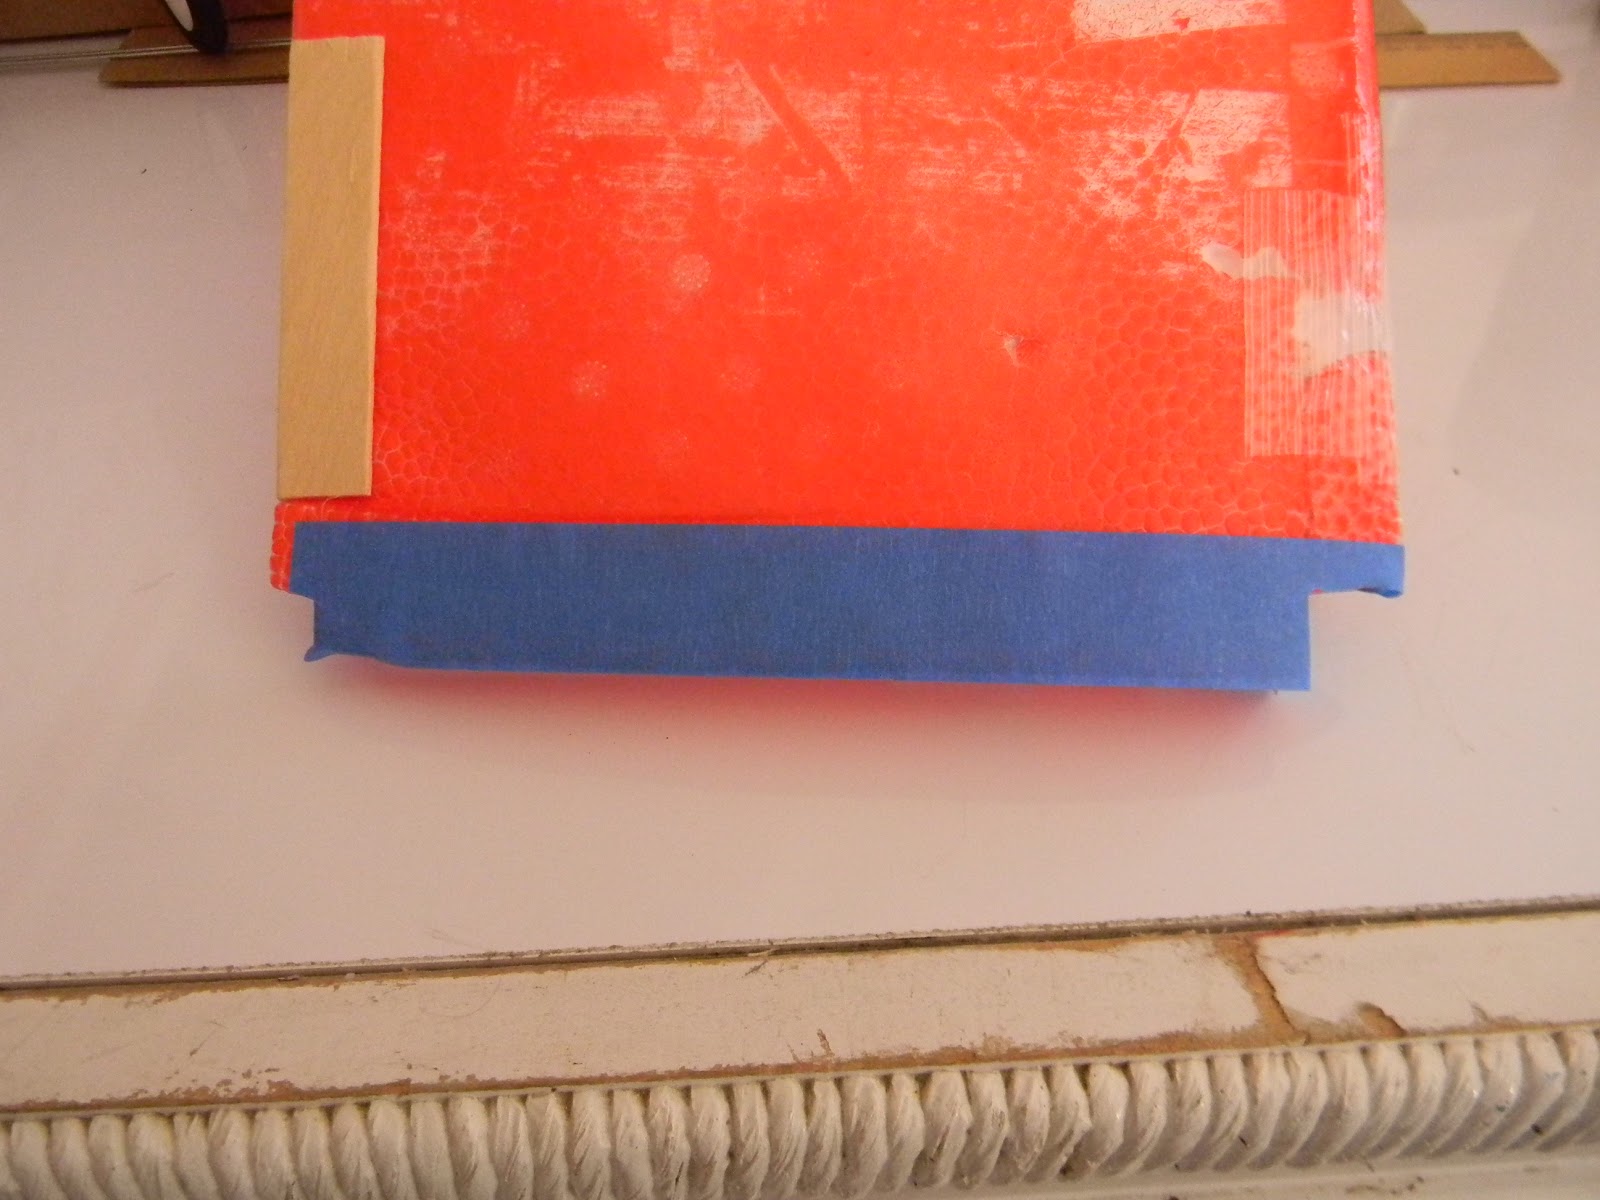
Now on to the taping. For demonstration purposes I used 1 inch wide blue masking tape. I figured that this would provide for a good contrast and the best viewing.
I like to start off with the nose as it really needs the most attention as it
will bear the brunt of most landings and is the most susceptible to being damaged.
Now I'd like to stop here for a moment to make an observation that taping up your plane in this, or any manor, will not stop damage from happening, but will only reduce the extent of the damage you inevitably
will encounter.
OK, back to work!
 |
| Starting the tape job |
 |
| Contouring around the nose |
I start with a strip running from the nose, just under the cockpit, to the back wing support. I use my razor knife to cut slits in the tape so that it contours nicely around the nose (it does not look as nice with the blue tape). I like to make sure the strip is long enough to wrap around the root of the tail spar.
 |
| Bringing support all the way back |
 |
| Getting around obstacles |
This is then repeated on the opposite side, crossing over at the nose and tail spar (just under the propeller). I feel that this accomplishes one important thing, it provides some structural support in helping keep pieces from coming apart.
 |
| Start by centering the tape strip |
 |
| Around one side... |
Now we start wrapping the nose. This will give the nose foam added structural support and help keep it from deforming and coming apart in a heavy crash. You can see that because I have a cutout in my nose (for fishing sinkers to help with CG), I have started a little further back than I normally would. I start this by pulling off a length of tape that looks to be the right length. Then, holding both ends of the tape I center it over the nose.
 |
| ....and under |
Now I let the tape follow the contours of the nose and wrap around under neath. I do the same with the other end until it crosses the other end on the underside.
 |
| ...and under again |
This ends up producing a nice "X" on the underside.
 |
| More taping of the nose |
 |
| Around one side... |
This is repeated again with another strip of tape across the nose just on the edge of the cockpit. And again, each side is wrapped around so that they cross underneath.
 |
| And finish underneath again |
 |
| ...and the other (more obstacles) |
This again results in a nice "X" on the underside of the nose and cockpit.
You can see from the picture at the left that I had an obstacle in the way. I just taped over it and then cut slits in the tape so it would lay flat.
 |
| Now for the cockpit and wing support |
 |
Tying around the top
|
 |
| Wrap around the bottom |
 |
| Bringing it around again to the cockpit |
Now I start a strip of tape that re-enforces both the front wing support and the back portion of the cockpit. I like to start this with a strip of tape (again, I just guesstimate the length) laid right down the back slope of the cockpit opening. This piece wraps over the top and into the wing slot. The other end wraps around the bottom and back up and over the side edge of the cockpit. This is repeated again around the other side as well. I feel that this re-enforces the wing arch as well as the back side of the cockpit.
 |
| Now again on the other side |
 |
| And tying it all together again |
These two pictures show what it looks like doing the other side.
 |
| Securing push rod guides |
 |
| Two inch tape on the top |
Now we can move on to the final portion of the fuselage, the tail spar. I start with two strips rounding the circumferences of the root of the spar and just in front of the rudder. These give support as well as hold in place the push rod tubes. The next piece that I like to apply, is a two inch wide piece of packing tape across the top of the tail spar. This reduces down flex and protects against dent and puncture damage.
 |
| Left underside runner |
 |
| Left and right side runner |
Now I move on to nose to tail, skid and flex re-enforcement. I start by laying out two strips that run from the nose to about halfway down the tail spar. I run these down either side of the bottom leaving just short of the width of the tape at the widest point so that when the center strip is laid dawn, there will be some overlap over the whole length.
 |
| Final nose to tail runner |
 |
| Contouring the nose again |
The final strip down the center runs from over the nose all the way down to the tail wheel. Again, the nose piece has slits cut in it so that it will lay down nicely.
These three pieces provide for a good skid surface for belly landing and help to reduce flex in the tail spar.
 |
| Leading edge re-enforcement |
 |
| Fixing the tape around the contours |
The final part to cover is protecting and re-enforcing the wings. I start out by protecting the leading edge of the wings with a long strip of the 2 inch wide clear packing tape. If you start out at the wing root, this should be easy enough to do. Put the leading edge of the wing right in the center of the tap and then roll it out down the wing.
 |
| Top view of tape out at the tip |
As you come to the part where it starts to bend up, just follow as best as you can. This is another area where you will benefit from cutting several slits in the tape so that it can better contour to the shape of the wing. You can see from my wing tip pictures that I was not too careful with this and it still worked out just fine.
 |
| Wing support |
These last two pieced of strapping tape that I put on are used solely to re-enforced the wing and help to reduce wing flex considerably. In fact, this is all that I used before I cut in my ailerons. Once I cut in ailerons, I had reduced the strength too much and added bamboo rods (One of my other posts covers that). Now normally I would just run one strip down the center of the wing from root to tip, but I put my aileron servos right in the way. I came up with this "X" pattern to get around that and it also allows for the shorter piece to cover the wing spar and the bamboo rod I added.
 |
| Gouge repair |
I have two more items that I would like to cover. The first one is how I deal with damage to the leading edge of the wings. While the 2 inch tape does a good job of reducing damage, some times it still occurs. To help with these I just cover them up with short strips of the strapping tape.
 |
| Fixing a loose wing |
The last item that I just started doing is running piece of strapping tape around the root of my wing to help snug up the fit. My wings have been getting so loose, that they have actually been moving in flight. Well, this really helped to reduce this issue.
So, there you have it. I hope this is easy enough for everyone to follow and gives you as good of results as I think I have had.
As usual, thanks for stopping by my blog and please post comments, good or bad. Be sure to come back and check for future posts.


Thanks for the photos and explanation! I just bought my first RC plane and chose the Wild Hawk because of recommendations, good price, and looked like a lot of people had one so I figured pretty good support out there.
ReplyDelete