Showing posts with label Hawk Sky. Show all posts

Tuesday, May 13, 2014

It's Hard to Keep a Wild Hawk Down

As much as I like my Wild Hawk, there are times when I try things that are too much for me.  This time it was flying in stormy weather on Superbowl Sunday.  I just had to go out before the start of the game and get some flying in.  The wind was quite strong and it was just drizzly.  I thought I would have lost it on the launch, but favor was with me and I was able to get in the air without incident.  Once up I found that I had enough throttle to over power the wind.  I used this to fly down wind and then slowly cruse back into the wind.  I drive a Jeep Cherokee, and with the Jeep nosed into the wind, I took advantage of the shelter under the lift gate.  I was able to hover my Wild Hawk just 30 feet out for quite some time through judicial use of the throttle and flight controls.  I had a lot of fun doing this.

Just as I was about to conclude my flying, I took one last flight down wind.  The wind had picked up and I was finding it quite difficult to turn around.  Then it happened.  I was way down wind, struggling, and lost my orientation.  The next thing I knew my Wild Hawk was heading quickly into the ground.  I then saw pieces fly up into the air.

I recovered all the pieces that I could find and headed home to review the damage and watch the game.  Needless to say, I will be performing another full rebuild of my Wild Hawk.  The following are photos of the damage and reconstruction.

From this photo you kind of get an idea of the amount of damage.  Fortunately the wing survived quite well!

This is back home on my table.  I took all of the pieces apart as well as completely removed anything that was hanging together.  I find it easier to re-glue whole pieces together rather than trying to work glue into cracks.
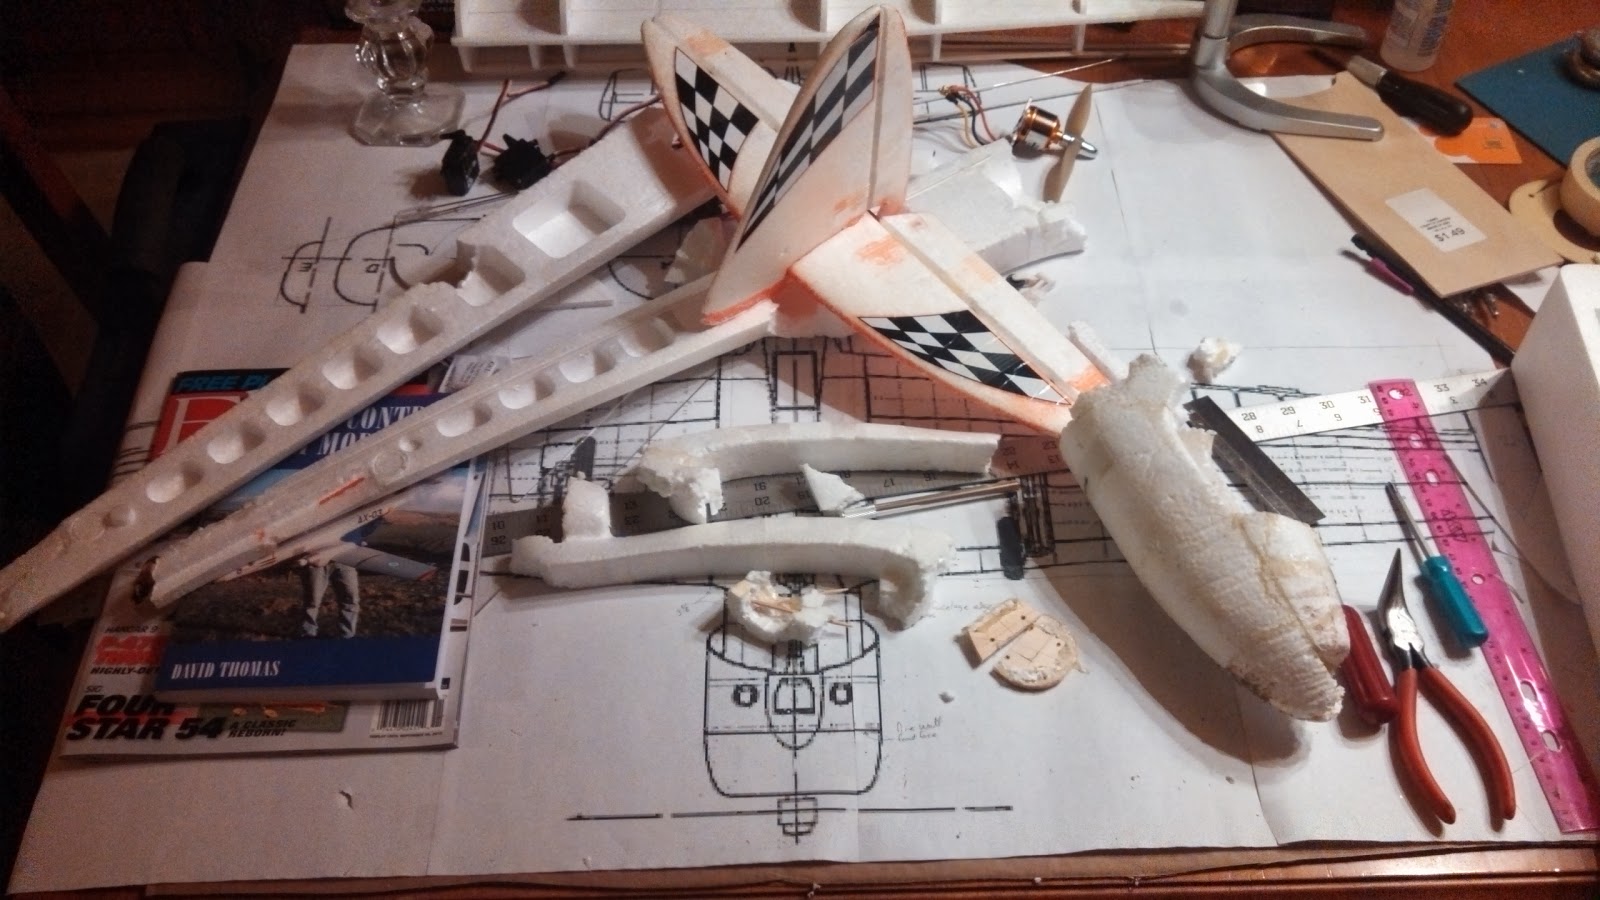


I took everything apart.


I do mean everything!

Again, I found it easier to reform pieces and fit them together by taking them completely apart.  I even pulled out hot glue seams that I did not like and re-glued them.

This time I did not use hot glue, but my new favorite foam glue, Gorilla Glue.  I really love this stuff!  I get a nice strong joint that is light weight.  Also, this glue has the added benefit of expanding to fill voids.


I worked on keeping the pieces as straight as possible, making them into bigger pieces and then putting these bigger pieces together.


Here it's really coming together but I did decide to completely redo the motor mount and give it a more correct thrust angle.  For a pusher, the thrust should be strait into the CG point.


More pieces of foam glued in place to fill in the gaps.


The final look of the motor mount.  Also the nose is back on and some of the electronics as well.

I did later discover that this was just a little too steep of a thrust angle and ended up putting a few millimeter washers under the top motor mounts.


This all took a lot of patience as it does take a lot longer for Gorilla Glue to cure that hot glue and it took some time to take all the pieces apart and remove the old hot glue.  But, it was all well worth it.

I don't know why I did not get any pictures of the completed plane, but it came together nicely and continues to be a fun plane to fly.

So, if you completely trash your Wild Hawk in a horrific crash, never fear.  With some time and patience you can have it in the air again and have it flying better than ever.

Thanks for stopping by my blog.  Please feel free to post comments, good or bad, and be sure to come back and check for future posts.

Wednesday, February 1, 2012

How To Tape A Wild Hawk

Hello all,

As I have had lots of people asking about, and have seen a lot of questions about how to taping up and re-enforce/protect a Wild Hawk, I thought I would use this post to show how I do it and what I recommend to others.

Note: The techniques shown here can be used on any similarly configured airplane like: the Hawk Sky, the EZ Hawk, the Easy Star, the Bixler, the Floater-Jet, and the Dolphin, just to name a few.

Before we start, I would like to review the type of tape I use.  I use two kinds of tape depending on what needs to be accomplished.  For most of the structural re-enforcement, I use a good fiberglass re-enforced strapping tape.  I've seen some that sure, they had fiberglass re-enforcement, but they were few and far between, about 6 to 10 strands.  I use a brand that has some 18 glass strands for the one inch wide tape.  Initially I looked for a 3/4 inch wide strapping tape, but all the locations I checked were out of the 3/4 or only carried the 1 inch wide tape.  So I bought the 1 inch tape and have not had an instance where I wished that I had the 3/4 inch wide tape.

For preventing puncture and tearing damage to the wind leading edge and part of the fuselage, I use a good clear wide packing tape.  This tape is not that critical just as long as it is not the real cheap and easily torn stuff.

Now on to the taping.  For demonstration purposes I used 1 inch wide blue masking tape.  I figured that this would provide for a good contrast and the best viewing.

I like to start off with the nose as it really needs the most attention as it will bear the brunt of most landings and is the most susceptible to being damaged.

Now I'd like to stop here for a moment to make an observation that taping up your plane in this, or any manor, will not stop damage from happening, but will only reduce the extent of the damage you inevitably will encounter.

OK, back to work!

Starting the tape job
Contouring around the nose
I start with a strip running from the nose, just under the cockpit, to the back wing support.  I use my razor knife to cut slits in the tape so that it contours nicely around the nose (it does not look as nice with the blue tape).  I like to make sure the strip is long enough to wrap around the root of the tail spar.

Bringing support all the way back
Getting around obstacles
This is then repeated on the opposite side, crossing over at the nose and tail spar (just under the propeller).  I feel that this accomplishes one important thing, it provides some structural support in helping keep pieces from coming apart.


Start by centering the tape strip 

Around one side...
Now we start wrapping the nose.  This will give the nose foam added structural support and help keep it from deforming and coming apart in a heavy crash.  You can see that because I have a cutout in my nose (for fishing sinkers to help with CG), I have started a little further back than I normally would.  I start this by pulling off a length of tape that looks to be the right length.  Then, holding both ends of the tape I center it over the nose.

....and under
Around the other side...
Now I let the tape follow the contours of the nose and wrap around under neath.  I do the same with the other end until it crosses the other end on the underside.


...and under again
This ends up producing a nice "X" on the underside.


More taping of the nose
Around one side...
This is repeated again with another strip of tape across the nose just on the edge of the cockpit.  And again, each side is wrapped around so that they cross underneath.


And finish underneath again
...and the other (more obstacles)
This again results in a nice "X" on the underside of the nose and cockpit.

You can see from the picture at the left that I had an obstacle in the way.  I just taped over it and then cut slits in the tape so it would lay flat.

Now for the cockpit and wing support
Tying around the top
Wrap around the bottom
Bringing it around again to the cockpit
Now I start a strip of tape that re-enforces both the front wing support and the back portion of the cockpit.  I like to start this with a strip of tape (again, I just guesstimate the length) laid right down the back slope of the cockpit opening.  This piece wraps over the top and into the wing slot.  The other end wraps around the bottom and back up and over the side edge of the cockpit.  This is repeated again around the other side as well.  I feel that this re-enforces the wing arch as well as the back side of the cockpit.


Now again on the other side
And tying it all together again
These two pictures show what it looks like doing the other side.


Securing push rod guides
Two inch tape on the top
Now we can move on to the final portion of the fuselage, the tail spar.  I start with two strips rounding the circumferences of the root of the spar and just in front of the rudder.  These give support as well as hold in place the push rod tubes.  The next piece that I like to apply, is a two inch wide piece of packing tape across the top of the tail spar.  This reduces down flex and protects against dent and puncture damage.

Left underside runner
Left and right side runner
Now I move on to nose to tail, skid and flex re-enforcement.  I start by laying out two strips that run from the nose to about halfway down the tail spar.  I run these down either side of the bottom leaving just short of the width of the tape at the widest point so that when the center strip is laid dawn, there will be some overlap  over the whole length.

Final nose to tail runner
Contouring the nose again
The final strip down the center runs from over the nose all the way down to the tail wheel.  Again, the nose piece has slits cut in it so that it will lay down nicely.

These three pieces provide for a good skid surface for belly landing and help to reduce flex in the tail spar.

Leading edge re-enforcement
Fixing the tape around the contours
The final part to cover is protecting and re-enforcing the wings.  I start out by protecting the leading edge of the wings with a long strip of the 2 inch wide clear packing tape.  If you start out at the wing root, this should be easy enough to do.  Put the leading edge of the wing right in the center of the tap and then roll it out down the wing.
Top view of tape out at the tip
As you come to the part where it starts to bend up, just follow as best as you can.  This is another area where you will benefit from cutting several slits in the tape so that it can better contour to the shape of the wing.  You can see from my wing tip pictures that I was not too careful with this and it still worked out just fine.


Wing support
These last two pieced of strapping tape that I put on are used solely to re-enforced the wing and help to reduce wing flex considerably.  In fact, this is all that I used before I cut in my ailerons.  Once I cut in ailerons, I had reduced the strength too much and added bamboo rods (One of my other posts covers that).  Now normally I would just run one strip down the center of the wing from root to tip, but I put my aileron servos right in the way.  I came up with this "X" pattern to get around that and it also allows for the shorter piece to cover the wing spar and the bamboo rod I added.

Gouge repair
I have two more items that I would like to cover.  The first one is how I deal with damage to the leading edge of the wings.  While the 2 inch tape does a good job of reducing damage, some times it still occurs.  To help with these I just cover them up with short strips of the strapping tape.


Fixing a loose wing
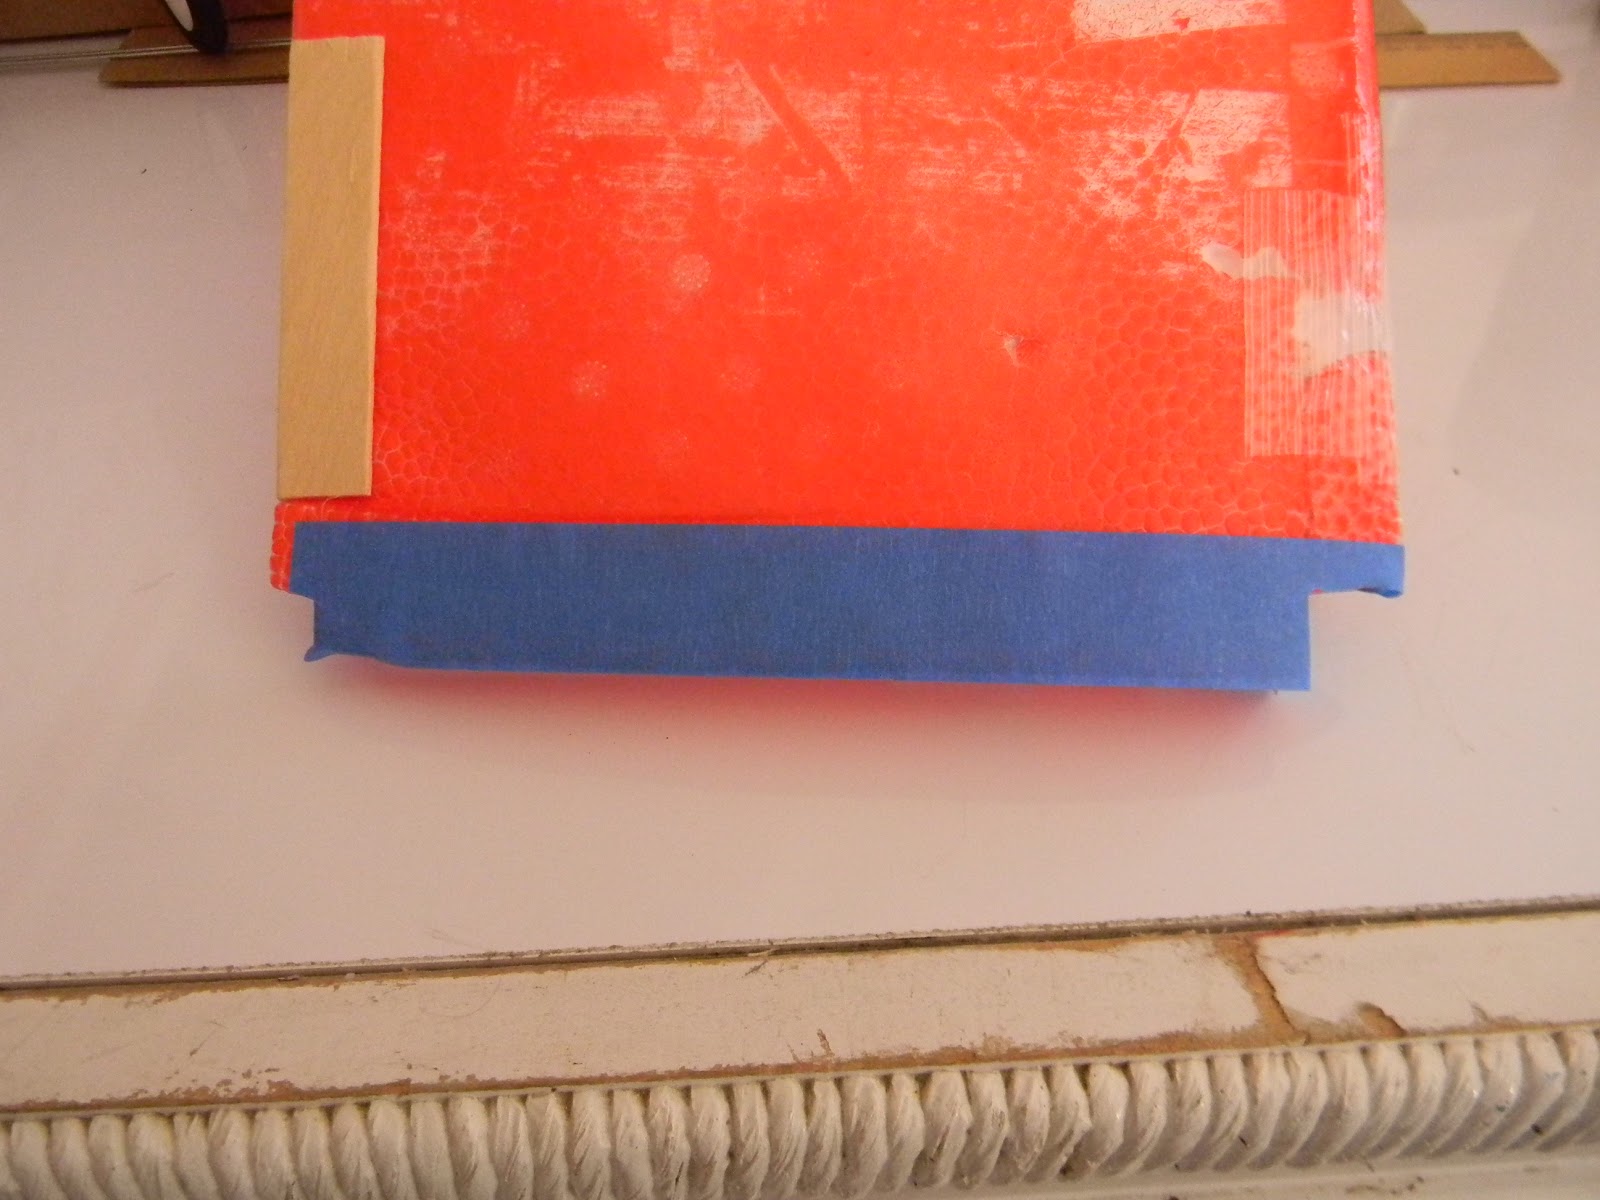
The last item that I just started doing is running piece of strapping tape around the root of my wing to help snug up the fit.  My wings have been getting so loose, that they have actually been moving in flight.  Well, this really helped to reduce this issue.


So, there you have it.  I hope this is easy enough for everyone to follow and gives you as good of results as I think I have had.

As usual, thanks for stopping by my blog and please post comments, good or bad.  Be sure to come back and check for future posts.