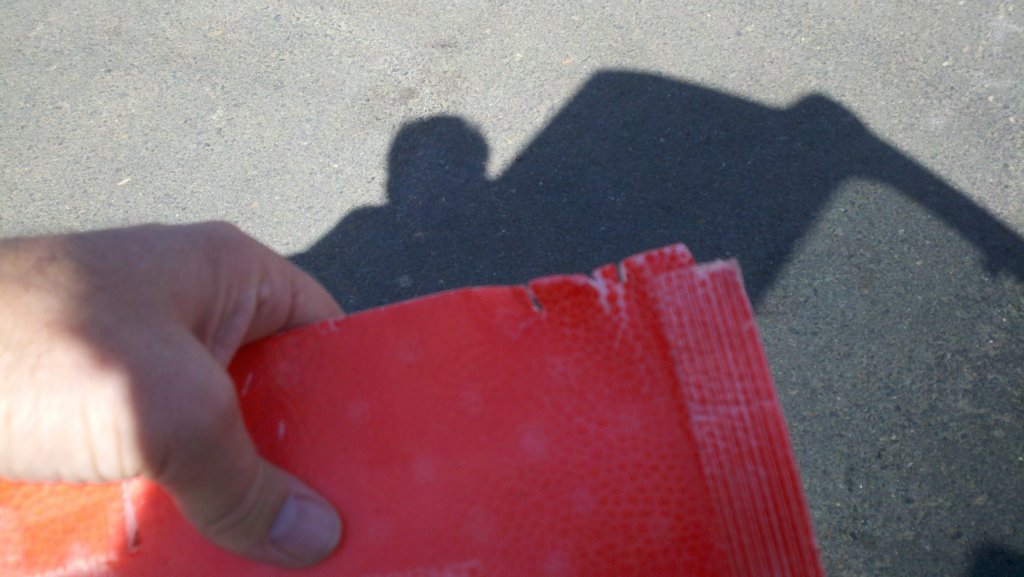
This post will be a double post as this post will serve both my Wild Hawk blog and RC Flying Fun blog. How you ask? Well, I found a new place to fly and I flew my Wild Hawk for my first outing at this location. This is also the first time flying for me in several months. Wow, a person can sure get rusty! This new location is on a road stub near an abandoned mall construction site. This road stub is off of the main road and across from the abandoned mall. It is also surrounded by farm land used for growing hay. There is a small group of flyers that get together each Sunday at this location. One of the best features of this location is that it is only about ten minutes from my house.
why did I pick a place like this instead of a formal club with a real runway and amenities. Well, I already joined the AMA (I recommend this membership for everyone in this hobby) and money is really tight right now (you folks with kids in college know what I'm talking about). So funding my hobby and paying club dues and AMA dues is out of the question. This site fits my budget and still gives me a good group to associate with.
Any way, here are some photos of this location including pictures of my Wild Hawk airplane getting ready to fly.
I did have an accident and crashed hard after failing on an outside loop.
It looked bad but I was up and flying again after some minor repairs and a battery swap.
I flew all three of my batteries this day. The only unfortunate thing was that on this day there were no other flyers that showed up. I had a good time anyway and could fly and land anywhere I pleased.
Before publishing this post I got a chance to fly again and made a video from one of my flights. Enjoy this areal look around.
Thanks for stopping by my blog. Please feel free to post comments, good or bad, and be sure to come back and check for future posts.
For all of you who think you can't fly a foamie in the wind, let alone a Wild Hawk, I'm here to tell you you're wrong!
I had the opportunity to go out flying with my Dad (for my birthday,thanks Honey) this past March 10. I like to go to his place because he has a really nice park to fly at, with lots of room and either dirt or paved areas to use as runways. The week up until then was beautiful and really fooled us that the weekend would be great also. Well, by the time we got there, the wind had really picked up. We waited around his place doing misc. fixes and playing with other stuff hoping that the wind would calm down. No such luck! We decided to just go and see what would happen.
We got there and I think the wind was worse. Easily a 15mph steady wind with gusts from 20 to 25mph! There was another person their flying a 40 class Cessna style plane, and struggling with it. He soon landed and started to pack up.
I decide what the heck, I'm here to fly and I'm gonna fly!
Now my plane is a bit modified with substantially more power and equipped with ailerons, and that really helped my confidence. (Click on some of the pictures for a link to the item I added)
So I took out my Wild Hawk and struggled to get the wings on without them being blown out of my hands by the wind. I got everything together and walked out a ways from our cars and set the plane down facing into the wind. We were all worried that the wind would blow it away. A test bump of the throttle showed that it would push into the wind. I sent the plane off and it popped right up into that head wind. I flew full power and my Wild Hawk had no problems climbing. It did take a lot of aileron to keep the plane level and to keep it's heading as the gusts really bounced it around, but it flew.
I made many passes flying full power into the wind and then shutting down the motor while banking over to let the wind take it. I would let it cruise by with little to no power and then bank it over again with full throttle.
Considering the wind, my beat up and mended Wild Hawk flew like a dream. I even did many touch and go landings with now crashes!
I really had a good time! Easily one of the best times flying yet.
Servos connect to the fuselage
I do have to admit that I did crash twice. The first time I came in too low and turned the wrong way with the wind and ended up cartwheeling the plane. No damage though (thank you tape)! The next crash was kind of crazy. Some how a gust of wind moved the wing enough to pull out one of the aileron servo connections and I could only bank one way, the wrong way! I ended up out of control in a kind of death spiral and into the group watching! Fortunately there were no injuries, and the spectators were OK too.
I had hoped to post some videos of this but my little video recorder was on the fritz and I got no usable video at all. That was a real bummer. I am posting this video because it is the same site and it too was a bit windy, not as much but fairly steady 7 to 10mph with gusts to 15mph.
So, If any one says that you can't fly a Wild Hawk in the wind because it's a foamie, send them to this site and I'll set them straight!
As usual, thanks for stopping by my blog and please post comments, good or bad. Be sure to come back and check for future posts.
As I have had lots of people asking about, and have seen a lot of questions about how to taping up and re-enforce/protect a Wild Hawk, I thought I would use this post to show how I do it and what I recommend to others.
Note: The techniques shown here can be used on any similarly configured airplane like: the Hawk Sky, the EZ Hawk, the Easy Star, the Bixler, the Floater-Jet, and the Dolphin, just to name a few.
Before we start, I would like to review the type of tape I use. I use two kinds of tape depending on what needs to be accomplished. For most of the structural re-enforcement, I use a good fiberglass re-enforced strapping tape. I've seen some that sure, they had fiberglass re-enforcement, but they were few and far between, about 6 to 10 strands. I use a brand that has some 18 glass strands for the one inch wide tape. Initially I looked for a 3/4 inch wide strapping tape, but all the locations I checked were out of the 3/4 or only carried the 1 inch wide tape. So I bought the 1 inch tape and have not had an instance where I wished that I had the 3/4 inch wide tape.
For preventing puncture and tearing damage to the wind leading edge and part of the fuselage, I use a good clear wide packing tape. This tape is not that critical just as long as it is not the real cheap and easily torn stuff.
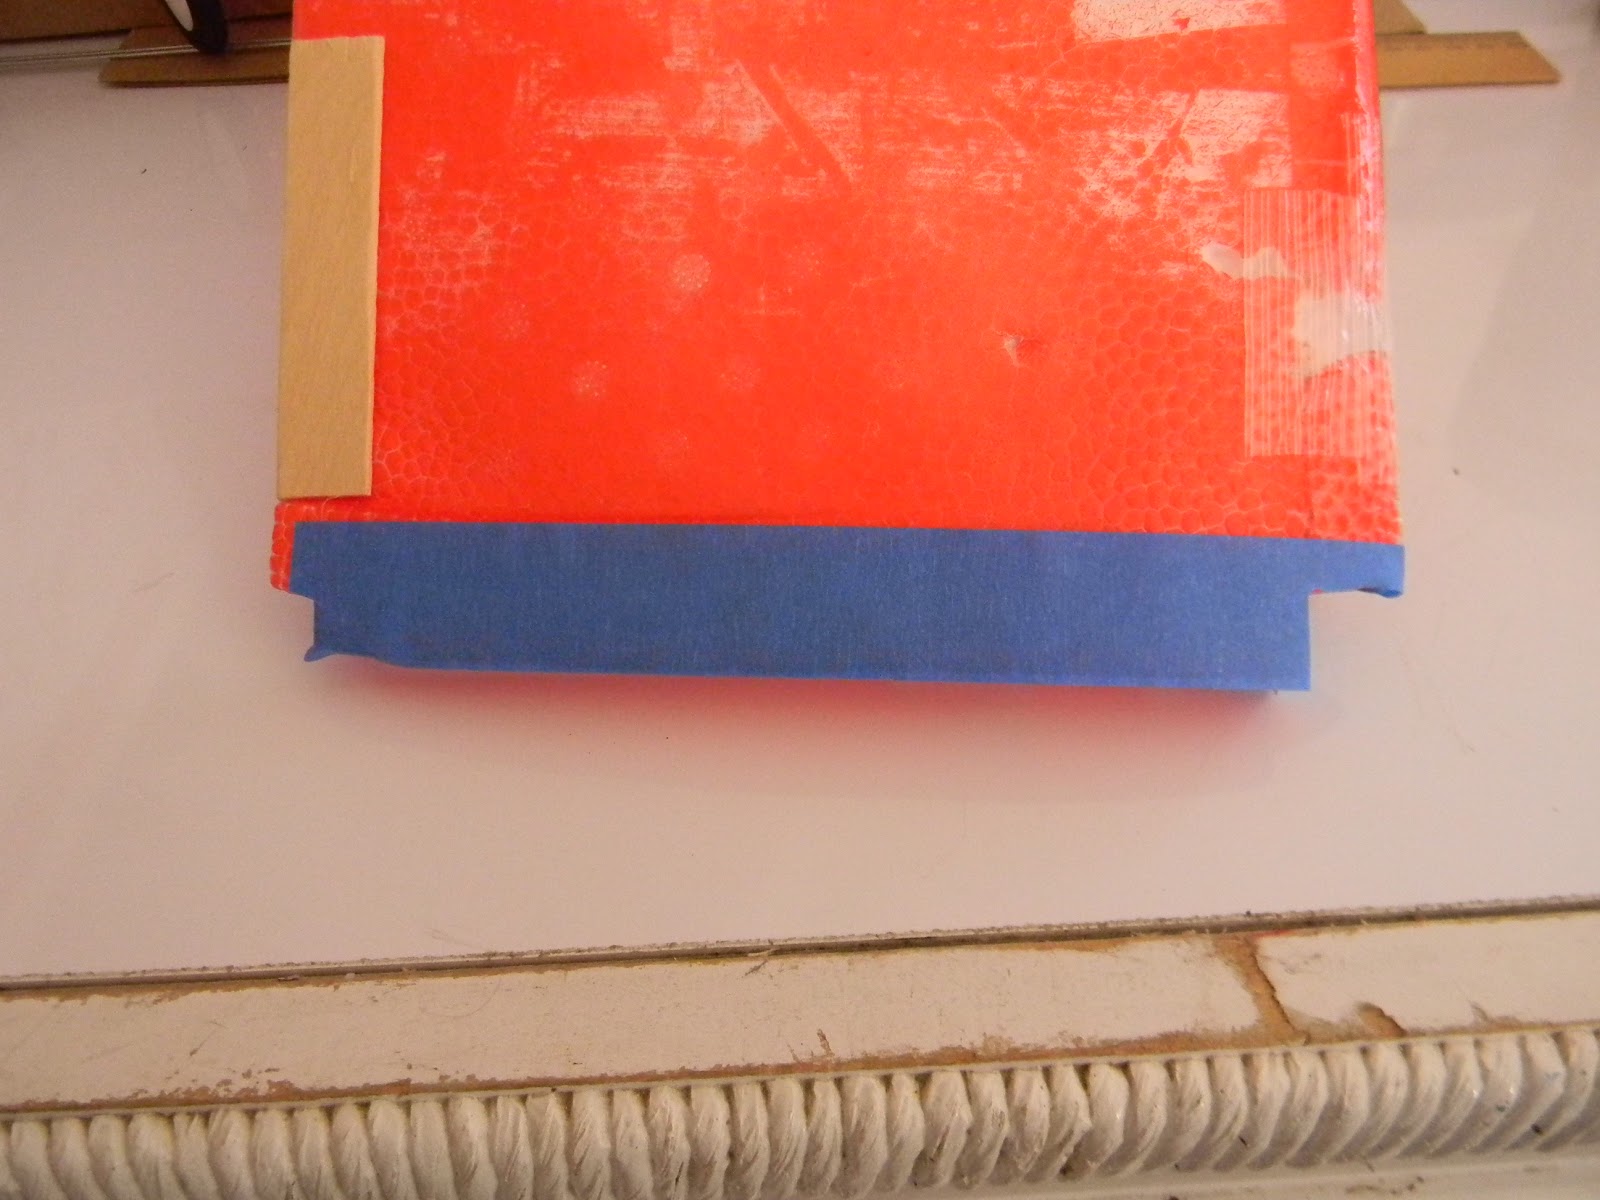
Now on to the taping. For demonstration purposes I used 1 inch wide blue masking tape. I figured that this would provide for a good contrast and the best viewing.
I like to start off with the nose as it really needs the most attention as it will bear the brunt of most landings and is the most susceptible to being damaged.
Now I'd like to stop here for a moment to make an observation that taping up your plane in this, or any manor, will not stop damage from happening, but will only reduce the extent of the damage you inevitably will encounter.
OK, back to work!
Starting the tape job
Contouring around the nose
I start with a strip running from the nose, just under the cockpit, to the back wing support. I use my razor knife to cut slits in the tape so that it contours nicely around the nose (it does not look as nice with the blue tape). I like to make sure the strip is long enough to wrap around the root of the tail spar.
Bringing support all the way back
Getting around obstacles
This is then repeated on the opposite side, crossing over at the nose and tail spar (just under the propeller). I feel that this accomplishes one important thing, it provides some structural support in helping keep pieces from coming apart.
Start by centering the tape strip
Around one side...
Now we start wrapping the nose. This will give the nose foam added structural support and help keep it from deforming and coming apart in a heavy crash. You can see that because I have a cutout in my nose (for fishing sinkers to help with CG), I have started a little further back than I normally would. I start this by pulling off a length of tape that looks to be the right length. Then, holding both ends of the tape I center it over the nose.
....and under
Around the other side...
Now I let the tape follow the contours of the nose and wrap around under neath. I do the same with the other end until it crosses the other end on the underside.
...and under again
This ends up producing a nice "X" on the underside.
More taping of the nose
Around one side...
This is repeated again with another strip of tape across the nose just on the edge of the cockpit. And again, each side is wrapped around so that they cross underneath.
And finish underneath again
...and the other (more obstacles)
This again results in a nice "X" on the underside of the nose and cockpit.
You can see from the picture at the left that I had an obstacle in the way. I just taped over it and then cut slits in the tape so it would lay flat.
Now for the cockpit and wing support
Tying around the top
Wrap around the bottom
Bringing it around again to the cockpit
Now I start a strip of tape that re-enforces both the front wing support and the back portion of the cockpit. I like to start this with a strip of tape (again, I just guesstimate the length) laid right down the back slope of the cockpit opening. This piece wraps over the top and into the wing slot. The other end wraps around the bottom and back up and over the side edge of the cockpit. This is repeated again around the other side as well. I feel that this re-enforces the wing arch as well as the back side of the cockpit.
Now again on the other side
And tying it all together again
These two pictures show what it looks like doing the other side.
Securing push rod guides
Two inch tape on the top
Now we can move on to the final portion of the fuselage, the tail spar. I start with two strips rounding the circumferences of the root of the spar and just in front of the rudder. These give support as well as hold in place the push rod tubes. The next piece that I like to apply, is a two inch wide piece of packing tape across the top of the tail spar. This reduces down flex and protects against dent and puncture damage.
Left underside runner
Left and right side runner
Now I move on to nose to tail, skid and flex re-enforcement. I start by laying out two strips that run from the nose to about halfway down the tail spar. I run these down either side of the bottom leaving just short of the width of the tape at the widest point so that when the center strip is laid dawn, there will be some overlap over the whole length.
Final nose to tail runner
Contouring the nose again
The final strip down the center runs from over the nose all the way down to the tail wheel. Again, the nose piece has slits cut in it so that it will lay down nicely.
These three pieces provide for a good skid surface for belly landing and help to reduce flex in the tail spar.
Leading edge re-enforcement
Fixing the tape around the contours
The final part to cover is protecting and re-enforcing the wings. I start out by protecting the leading edge of the wings with a long strip of the 2 inch wide clear packing tape. If you start out at the wing root, this should be easy enough to do. Put the leading edge of the wing right in the center of the tap and then roll it out down the wing.
Top view of tape out at the tip
As you come to the part where it starts to bend up, just follow as best as you can. This is another area where you will benefit from cutting several slits in the tape so that it can better contour to the shape of the wing. You can see from my wing tip pictures that I was not too careful with this and it still worked out just fine.
Wing support
These last two pieced of strapping tape that I put on are used solely to re-enforced the wing and help to reduce wing flex considerably. In fact, this is all that I used before I cut in my ailerons. Once I cut in ailerons, I had reduced the strength too much and added bamboo rods (One of my other posts covers that). Now normally I would just run one strip down the center of the wing from root to tip, but I put my aileron servos right in the way. I came up with this "X" pattern to get around that and it also allows for the shorter piece to cover the wing spar and the bamboo rod I added.
Gouge repair
I have two more items that I would like to cover. The first one is how I deal with damage to the leading edge of the wings. While the 2 inch tape does a good job of reducing damage, some times it still occurs. To help with these I just cover them up with short strips of the strapping tape.
Fixing a loose wing
The last item that I just started doing is running piece of strapping tape around the root of my wing to help snug up the fit. My wings have been getting so loose, that they have actually been moving in flight. Well, this really helped to reduce this issue.
So, there you have it. I hope this is easy enough for everyone to follow and gives you as good of results as I think I have had.
As usual, thanks for stopping by my blog and please post comments, good or bad. Be sure to come back and check for future posts.
So I'm off on break the Friday before the new year and I scheduled a day of flying with my Dad. He has a flying buddy with access to a private field and was able to get some time on that Friday for us to fly out at the private field. This field has a dirt, but smoothed out, runway out in the middle of open farm land. My Dad brought out his Radian and his buddy took out his T28 for us to try out. I, of course, brought out my Wild Hawk.
I arrived about 11:00am and we were out at the field by about noon. John (Dad's buddy) sets up T28 around. Wow, that was a lot of fun! This plane is very responsive while still be easy to control. Now I do have to say that the transmitter (a really nice Spektrum 6 channel) was set for a slow rate. I flipped the switch to fast rate and about as quickly as I lost control of the plane, I switched the rate right back to slow! Way to responsive for my current skills.
This is where things started going south for my Dad. I handed the controls to my Dad so he could check it out, and pretty soon he was getting to far away. John advised that he should bring it back before it was too hard to control, and guess what. Well, he tried to get it back but lost orientation and handed the controls back to John. Too late! It dove into the ground and broke the wing off.
Dad then got out his Radian for a flight. A quick had launch out and the plane was not gaining altitude. About 50 yards out the right wing tipped up and caught the breeze and with the low altitude, cartwheeled the plane into the groung! Another broken plane!
Well, I got out the Wild Hawk and after two failed take off attempts, I hand launched it into the air. I had a great flight with my make shift cell phone video camera on board (unfortunately something went wrong with the camera and the video file was messed up, so no video this time). I landed it, took the camera off and hand launched it again. I trimmed it out again since the loss of the camera weight, and asked my Dad if he wanted to fly it. He said "no" as he did not want to chance wrecking another plane!
After this flight it was time to head home and get some lunch. After lunch we checked out a local city park that people were known to fly at. This turned out to be a great place to fly! It's this huge sunken area surrounded by 10ft berms with parking areas. We quickly headed home to get out planes.
We returned, me with my Wild Hawk and Dad with his Wild Hawk (Old Hickery) and his second plane (my brothers Wild Hawk that he procured). We parked right up to one side with the slight breeze coming in toward us. We had about 15ft of grass to the grassy berm. I took off and landed on the parking lot and Dad hand launched out off the berm. What a perfect place to fly! We flew and flew almost till dark! I burned off the 2200mah battery and started another. Dad did crash and damage my brothers plane (he flew it behind us and lost it in the sun!), but continued to fly with Old Hickory. We had soo much fun and had such a great time flying. I think I had easily, a solid 30 minutes of air time! We would just take the planes up and then cut the power and see how long we could glide around. We had a great time bringing them in for low passes and trying to land at our feet (I have to admit that Dad took the prize here). We are definitely coming back here again!
Sorry there are no pictures, the video didn't come out and I was so distracted by the great flying that I didn't take any pictures.
Thanks for stopping by my blog and please post comments, good or bad. Be sure to come back and check for future posts.
This was an experiment that I could hardly wait to perform and I finally got the chance. My oldest daughter is finally home from college for Christmas break so I recruited her to film while I flew. It was a beautiful clear day but the wind was starting to pick up. I was rushing to get things done so that I could get out before it got too windy. I know that I could have waited for the evening calm, but I did not want to risk that the wind would settle and that something else would not interrupt my day. So out we went and braved the elements anyway. When we first arrived it seemed that we would luck out with the wind lining up with the walk way. Well as usual the wind did not flay nice and it had fun crossing at an uncomfortable angle.
Not to be outdone, we flew anyway. The wind did not make things easy. After a few attempted take offs (see one of the last videos below) I finally made it into the air. It was much harder than I expected to taxi in a straight line. Especially with the wind buffeting the plane from the side, especially when it was just about to get off the ground.
Once in the air, it flew just fine. The the addition of the landing gear had no noticeable affect in the Wild Hawk's flight. As the wind was causing the plane to bounce around quite a bit, it might have been masking any affects of the landing gear, but I don't think so.
This first video shows the first successful take off. I thought sure that I was going to crash into the cable again, but I just pulled back on the stick and luckily had enough airspeed to take off successfully.
This second view shows the first successful landing. I came in dead stick because it was coming in fast enough and with power would have been too fast. I know too that this was because I was landing with the wind, but it worked out OK. I did think for a moment that I was going to land it on the walk way cable, but I made it to the pavement.
This video shows both the take off and landing from the airplanes point of view. If you would like to see what I did to get this footage see my other blog RD Flying Fun. I'll be updating it soon with how I modified a cell phone to take this footage.
Like the last time I flew, I had so much fun after the first flight that I just made sure all was still OK and then just took off again. This was a shorter flight as I didn't want to battle the wind for too long and it was too cold for my daughter and I to stay much longer.
My daughter filmed this flight as well. The first video is the entire flight from take off to landing since it was such a short flight. You can see that it took me quite a bit to get it under control, but I made it into the air.
Landing was another issue again. You can see that it came in on an angle and kind of "crabbed" in.
This video is the second flight from the planes perspective. You might have noticed by now that the perspective is different than from the ground video. What I did to get forward facing video had the affect of switching the video left for right. When the plane is going left in all of these videos from the plane, it's really going right!
OK, this is the, well, blooper video of my failed take offs from the ground our perspective and from the plane's perspective.
Yeah, I could have cut some time out of this video, but I thought it was interesting seeing all of this stuff from the planes point of view.
Ouch, that last one looked like it really hurt but actually nothing bad happened. I just checked it over and made sure the wing was still in firm (as firm as they can be with this much "experience") and checked the aileron servo connections.
If you liked this my latest blog post, please leave a comment and let me know. Even if you didn't like it, leave me a comment as to what you didn't like. Either way, be sure to come back and check for future posts.
I’ve made a decision about my Wild Hawk. A decision that is the opposite of the one that I made when I first received the plane. A decision that goes against all the recommendations that I received when I first queried experienced Wild Hawk owners regarding the plane. So, just what is this decision that I made? I’m adding the landing gear back to my plane!
Why am I doing this? And, why did I remove them in the first place? Well, first why did I take them off and leave them off. I took them off for two reasons. The first reason is that having landing gear of such a light plane can cause landing problems for inexperienced fliers such as I was. The second reason was that all the areas that I expected to fly at had no landing strips. My Dad’s location is a rough plowed field, usually with tall weeds. My only other current location is a local park and preserve area. The preserve area does have a 10ft wide walk way that cuts through it, but it is lined on either side with 8 x 8 posts threaded with 1/2in cable. Not very inviting!
Now I’m adding my landing gear back because, I’ve now successfully landed on the walk way twice, and I have plans to join a local club that has a really nice runway. I figure this will also prepare me for bigger and better airplanes that will have landing gear. Besides they just snap in and out (see my pictures and videos below).
Wild Hawk landing gear
Cutting tape out of the gear mounting slot
Gear installed
Landing Gear in.
Landing gear out.
So what is adding the landing gear back onto the plane going to do to how it will fly? OK, I know that the landing gear is just wire with foam rubber wheels and they weigh next to nothing, and so the weight should not affect the plane very much and they are close enough to the CG that I don't expect them to affect the CG. But, the big thing in my mind is that they are not exactly aerodynamic. Again, they are not that big, but on such a light plane they could have a drag affect. This affect could be to make the nose drop as the pull would be on the bottom and to the rear using the CG as a fulcrum. Will this be enough to affect the flight and require trimming? Will I need to redistribute the weight? Will flying speed make a difference?
Since I do not have a wind tunnel, I'll have to rely on flying the Wild Hawk to see what will actually happen. Now I am waiting for a good day to fly. Once I have flown the plane (successfully or not) I will post an update on what affect this had, if any!
Wow! Sometimes I forget how much fun it is to fly my plane! I know it’s fun, but I forget how much fun. I’ve been waiting for almost two weeks now to fly and it’s been a tough wait. I have these plans to strap my cell phone to my Wild Hawk and video. I thought I was all set to fly and video my last timeout, but there were technical difficulties. The first thing to happen was that the cell phone I was going to use (because I’m too cheep to buy one of those mini video cameras) had issues with the touch screen working properly. After some searching with Google, I was able to partially resolve that issue and deal with the limitations. The second issue, well OK, the second and third issues were kinda simultaneous. On the first two flights with the cell phone camera videoing, I found out that I was only getting 43 seconds of video, and also the tape that holds the cell phone to the plane was causing damage to the trailing edge of the wing (because I was having issues with achieving a decent landing).
The 43 second video issue was resolved (with the help of my good old pall Google again) bu un-checking the messaging video setting on the cell phone. The setting that limits a video to the size that can be included in a text message (43 seconds for this phone). The trailing edge wing damage issue was resolved by adding support in the form of a tongue depressor.
This was all resolved within days of my last flight. But it would be much longer before I would have an opportunity to fly again.
To make things worse, my Dad sends me an email describing his latest outing and how much fun he had flying his Wild Hawk, his buddies T-28, and his Radian. Flights with three planes in one day. Torcher!
OK, I get to relate on thing about this that makes me feel a little better. My Dad was testing his Radian without the wing attached and accidentally bumped the throttle to full and had his plane launch across the garage! He was lucky though and only damaged the canopy (only about $5 to replace).
Ok, OK, my weekend is half over and I still have to install brakes on my Jeep. But, after that I’m free to fly! I rush through the job (I've done this enough times) and am done in just shy of an hour (no air tools!). I had already put my new LiPo pack and cell phone on their chargers to make sure they were topped off and ready to go. I grabbed my plane, my transmitter, the battery, and cell phone. Oops, almost forgot the tape to hold the cell phone on with! That would have been unfortunate. OK, got the tape too. Jump into the Jeep and head out to my local flying spot.
I can hardly contain myself as I park the Jeep and get out my plane and gear. I hurriedly walk across the park to the paved path through the wild life preserve next to the park. Half way down is where I like to fly from as this puts me closest to the middle of the area. I find my spot and fuddle through my mind all the steps that need completing. Connect aileron servos. Make sure wing is right. Connect the battery, wait, turn on the transmitter first! Whew, now connect the batter. Darn it, the beeps, forgot to put the throttle to full and then off to program the speed controller! Wow, got it just in time. OK, the cell phone is already on now start the video app. Almost forgot about the tape again. Hurriedly strip off a piece of tape. Darn it! Fishing in my pocket for my knife. Fumble with the knife and cut the tape. Stick the tape to the phone and strap it to the wing. One final test of the controls, and toss the video equipped Wild Hawk into the air. Wow this plane is so stable. What a joy to fly!
The plane has a natural trim up and in a left hand circle to I just lit it climb. It’s over cast and I really wanted to get up into the clouds, but they proved to be too high today. I flew up as high as I dared (can’t see it, can’t fly it) and cut the motor. I was having a blast cruising this plane around and wondering what the video would show. Knowing that the cell phone camera was just pining down, I made a few high banked turns to try to get the horizon and sunset into the picture. After a little while I decided to bring it in for a landing. Now I have been trying to land on the paved walk way for some time, but it’s really tricky as it is only about 10 feet wide and lined with 8x8 posts about 3 feet high and with cables strung along them. So, any mistake on landing can be a bad one! First pass I aborted and hit the throttle to gain altitude. Turned around and came in again. This time I used the right mount of rudder and elevator and made a nice touchdown. The plane slid right up to my feet! OK, I did jump back a little as I did not want it to run into me and cause me to do something stupid like, step on it!
I was so excited that I just picked it up and tossed it into the air again. I did pretty much the same thing and took it up high. Then I shut down the motor and just let it glide around. There was a group of kids that noticed the plane and were all excited. I could hear them from across the field as they were pointing it out to each other and trying to find it in the sky. I flew over them hoping to catch them on film (digital film) and maybe give them a thrill of the plane flying over head. I did a few maneuvers again to catch the scenery and this time I did a loop. Just a mild and lazy one, kinda ended up on it’s side at the top. I didn’t want to pull to hard on this one with the added weight of the cell phone and the possible frailness of the winds. I’d hate to have my first flight video be of one of the wings buckling and then a nauseating rush of the scenery as it spiralled into the ground. So, I didn't push it. This time I brought the Wild Hawk in from the opposite direction. And, again, I aborted the first pass. But I did it again! With the judicious use of the rudder and elevator, I coaxed my plane in for another spectacular landing. OK, at my level of experience any landing that does not cause damage is spectacular!
What a rush! I had the best time! I wanted to fly some more but the sun was setting and it was getting cold again. Plus I had diner to make. My wife was braving the Christmas season shopping with my middle daughter so the least I could to was to have dinner ready when they got home.
Included is the video I took. The unedited version is just over 17 minutes. I’ll try to edit it down into smaller segments to make it more manageable and also get it into a better format (mpg maybe instead of 3gp)
Well I actually figured out how to use Youtube tools to edit my video and was able to cut it up and embed them into the text of this blog.
I added this video just to provide a view of where I fly.
I hope everyone enjoys this and please comment.
I thought I would update this post add a little video that shows the status of my battery after this outing. It till looks pretty good! Other that saying that the battery was fully charged right before I went out (12.?v), I can't say exactly what the charge was. But, with the info from this video, and knowing how long I flew, I think I could have flown a lot longer. Generally LiPo batteries have max battery voltage of 4.2 and minimum voltage of 2.8 and nominal voltage of 3.7. Ok, I know you would not want to run your individual batteries down to 2.8v, but even if they only went down to 3.0v, they are still only 1/3 their way down. So, a lot more flying could have been had.
Thanks for stopping by my blog and please post comments, good or bad. Be sure to come back and check for future posts.